
To create an image upload feature with a preview using Bootstrap 5, you can follow these steps. This will involve a mix of HTML for the structure, CSS for styling, and JavaScript for functionality.
First, create the HTML structure using Bootstrap classes and Add JavaScript to handle the image selection and preview.
HTML
<div class="container">
  <div class="row">
    <div class="col-md-6">
      <form>
        <div class="mb-3">
          <label for="imageUpload" class="form-label">Upload Image</label>
          <input type="file" class="form-control" id="imageUpload" accept="image/*">
        </div>
        <button type="submit" class="btn btn-primary">Submit</button>
      </form>
    </div>
    <div class="col-md-6">
      <p>Image Preview:</p>
      <img id="imagePreview" src="#" alt="your image" class="img-fluid" style="display: none;" />
    </div>
  </div>
</div>
<script>
  document.getElementById('imageUpload').addEventListener('change', function (event) {
    var output = document.getElementById('imagePreview');
    output.src = URL.createObjectURL(event.target.files[0]);
    output.onload = function () {
      URL.revokeObjectURL(output.src)
    }
    output.style.display = 'block';
  });
</script>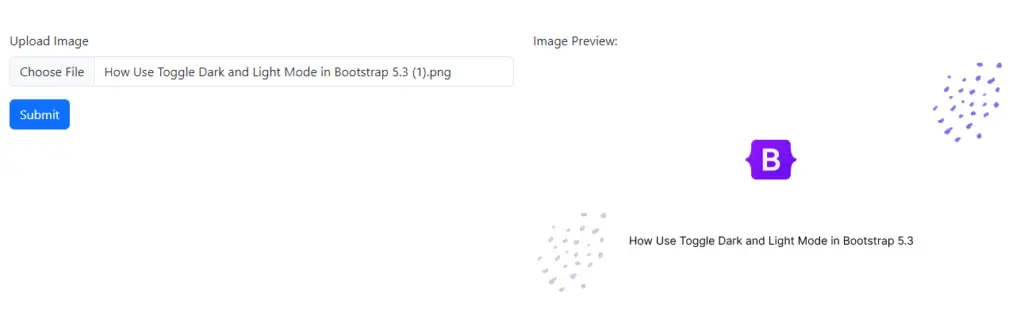
Bootstrap 5 Upload Image Files with Preview Using Input Button.
HTML
<div class="container">
  <div>
    <div class="col-md-6">
      <form>
        <div class="mb-3">
          <label for="customFile" class="btn btn-primary mb-2">Choose Image</label>
          <input type="file" class="form-control" id="customFile" accept="image/*" hidden>
        </div>
      </form>
    </div>
    <div class="col-md-6">
      <div class="preview-container" style="display: none;">
        <p>Image Preview:</p>
        <img id="customImagePreview" src="#" alt="Image Preview" class="img-fluid" />
      </div>
    </div>
  </div>
</div>
<script>
  document.getElementById('customFile').addEventListener('change', function (event) {
    var preview = document.getElementById('customImagePreview');
    var container = document.querySelector('.preview-container');
    preview.src = URL.createObjectURL(event.target.files[0]);
    preview.onload = function () {
      URL.revokeObjectURL(preview.src);
      container.style.display = 'block';
    }
  });
</script>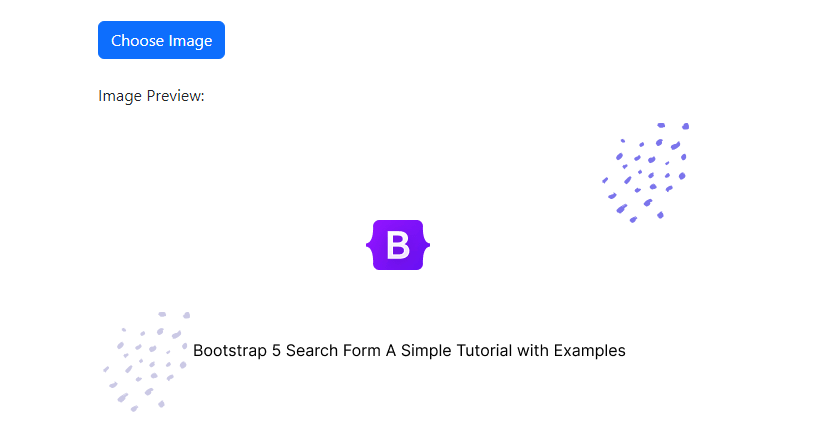
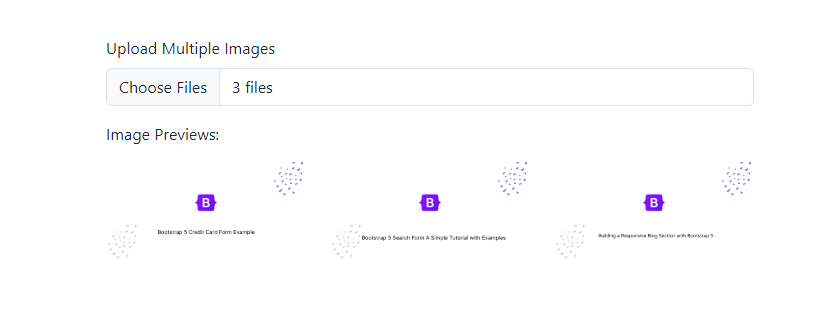
Bootstrap 5 Upload Multiple Image Files with Previewing Multiple Images.
HTML
<div class="container">
  <div>
      <div class="col-md-6">
          <form>
              <div class="mb-3">
                  <label for="multiImageUpload" class="form-label">Upload Multiple Images</label>
                  <input type="file" class="form-control" id="multiImageUpload" accept="image/*" multiple>
              </div>
          </form>
      </div>
      <div class="col-md-6">
          <p>Image Previews:</p>
          <div id="multiImagePreview" class="row"></div>
      </div>
  </div>
</div>
<script>
  document.getElementById('multiImageUpload').addEventListener('change', function (event) {
      var previewContainer = document.getElementById('multiImagePreview');
      previewContainer.innerHTML = ''; // Clear existing previews
      Array.from(event.target.files).forEach(file => {
          var preview = document.createElement('img');
          preview.src = URL.createObjectURL(file);
          preview.classList.add('img-fluid', 'col-md-4', 'mb-3');
          preview.onload = function () {
              URL.revokeObjectURL(preview.src);
          }
          previewContainer.appendChild(preview);
      });
  });
</script>